
Last updated October 30, 2026
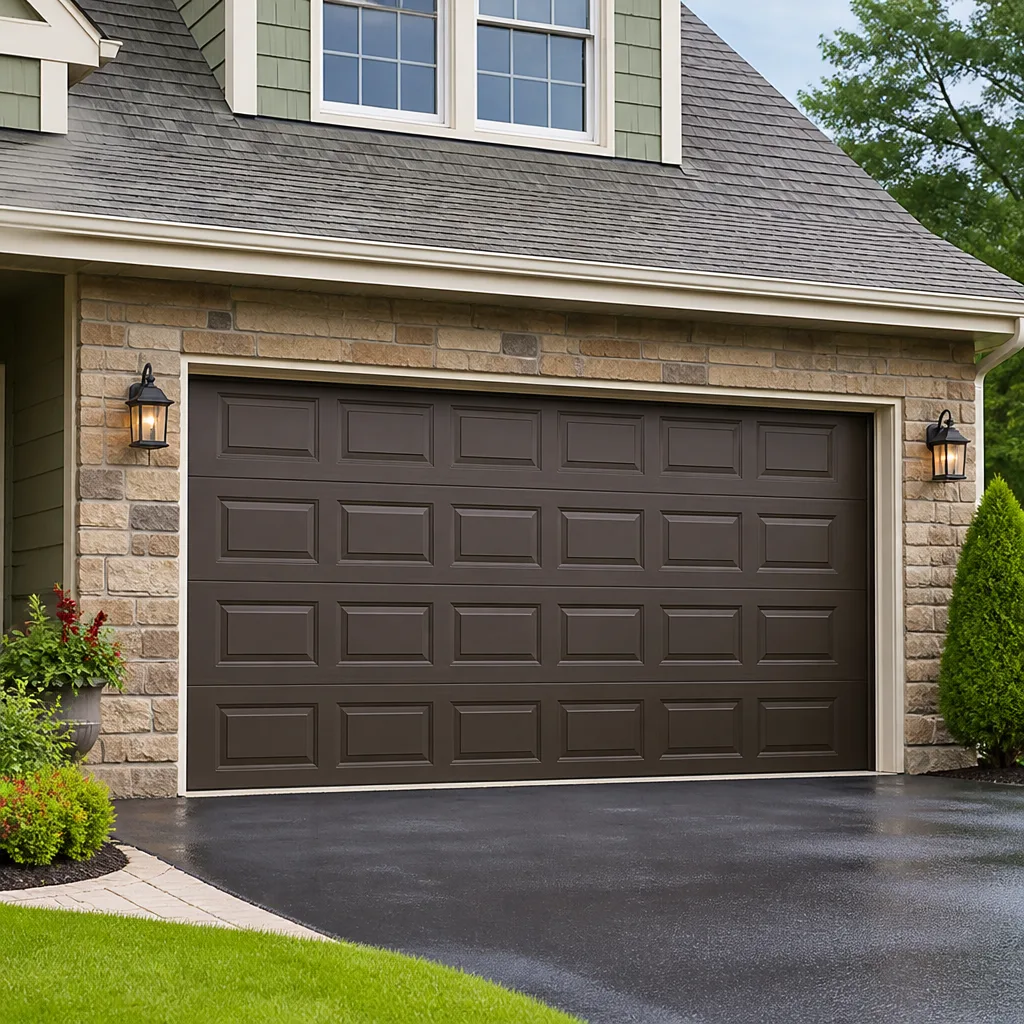 Raised-panel steel
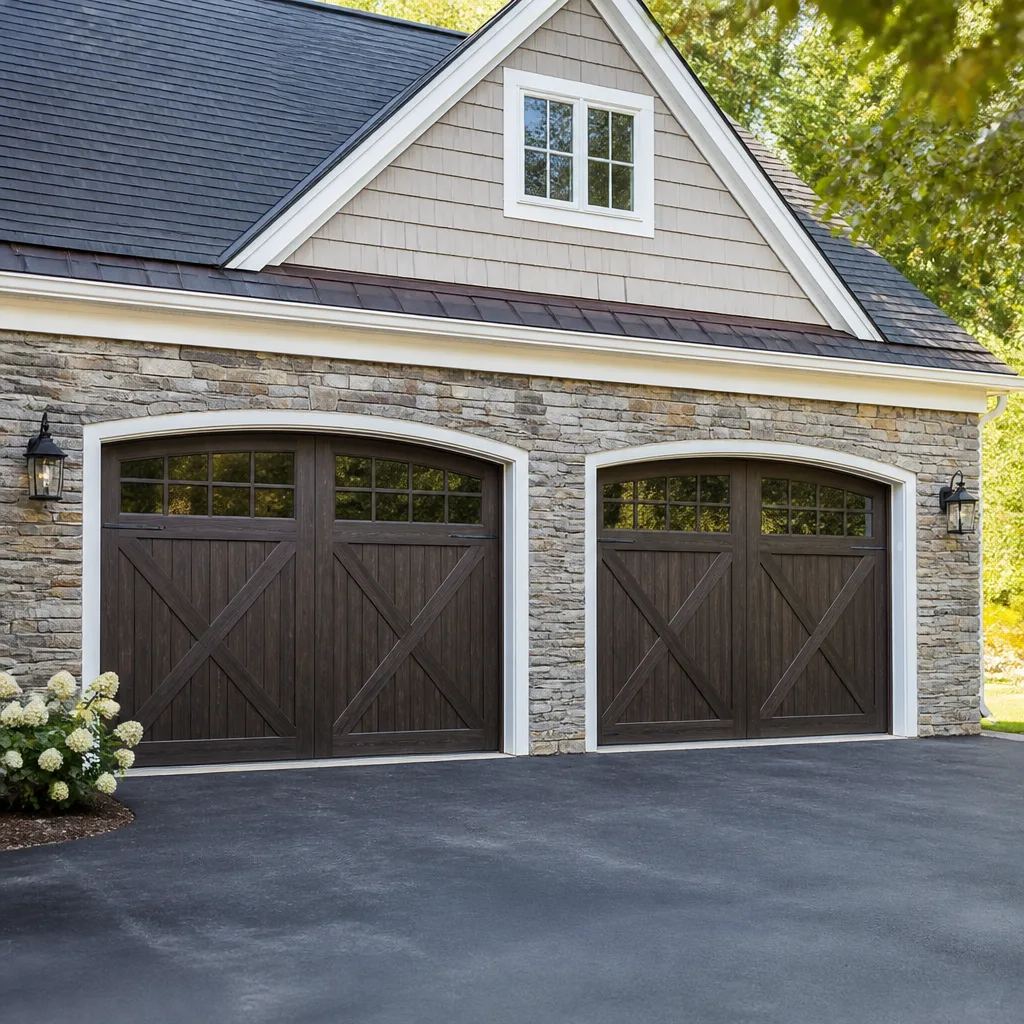 Carriage house
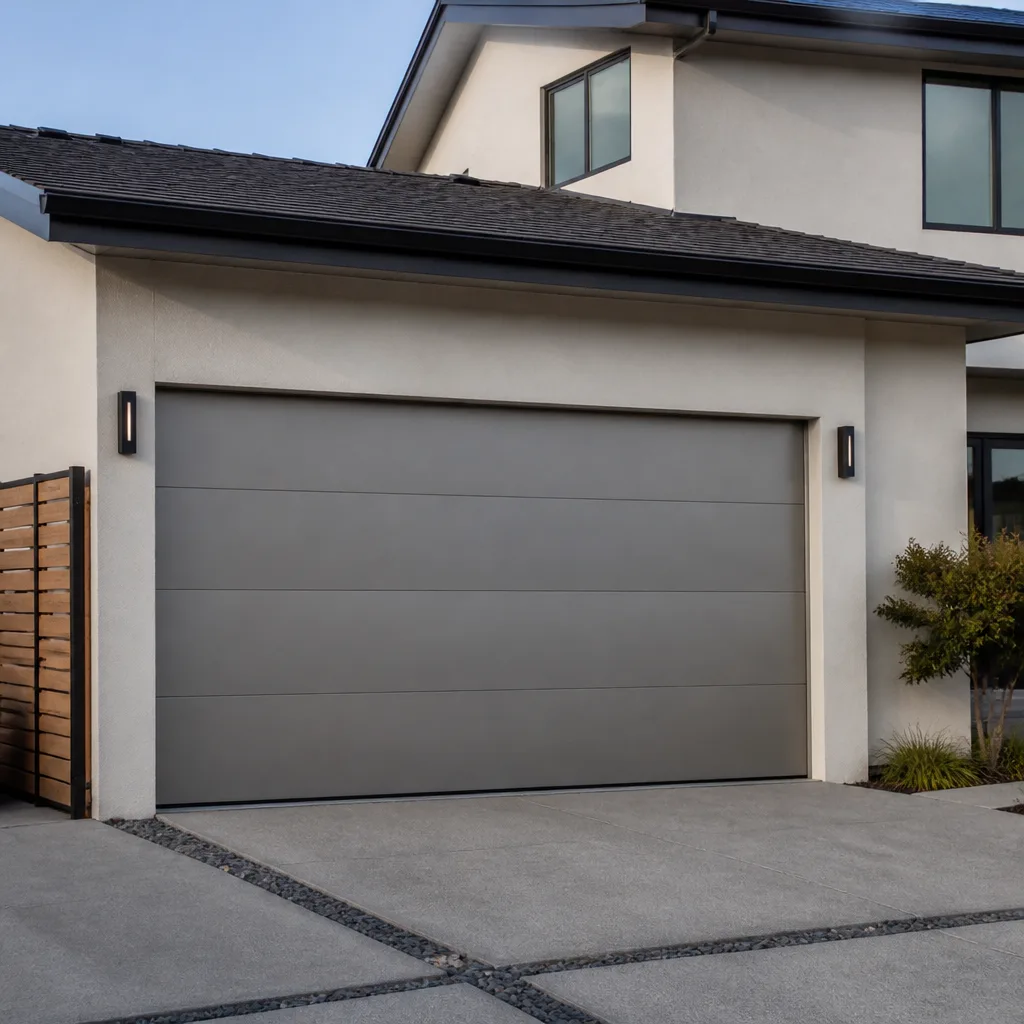 Modern flush
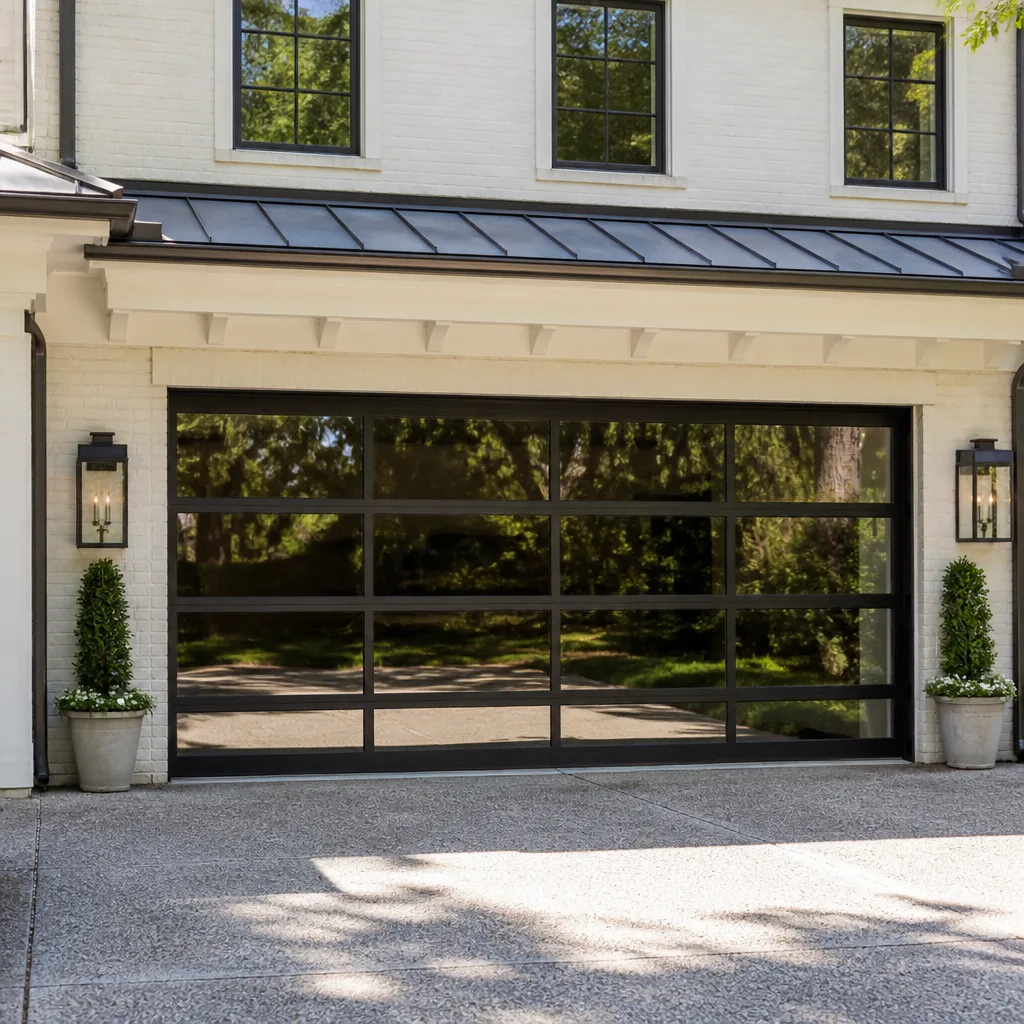 Full-view glass
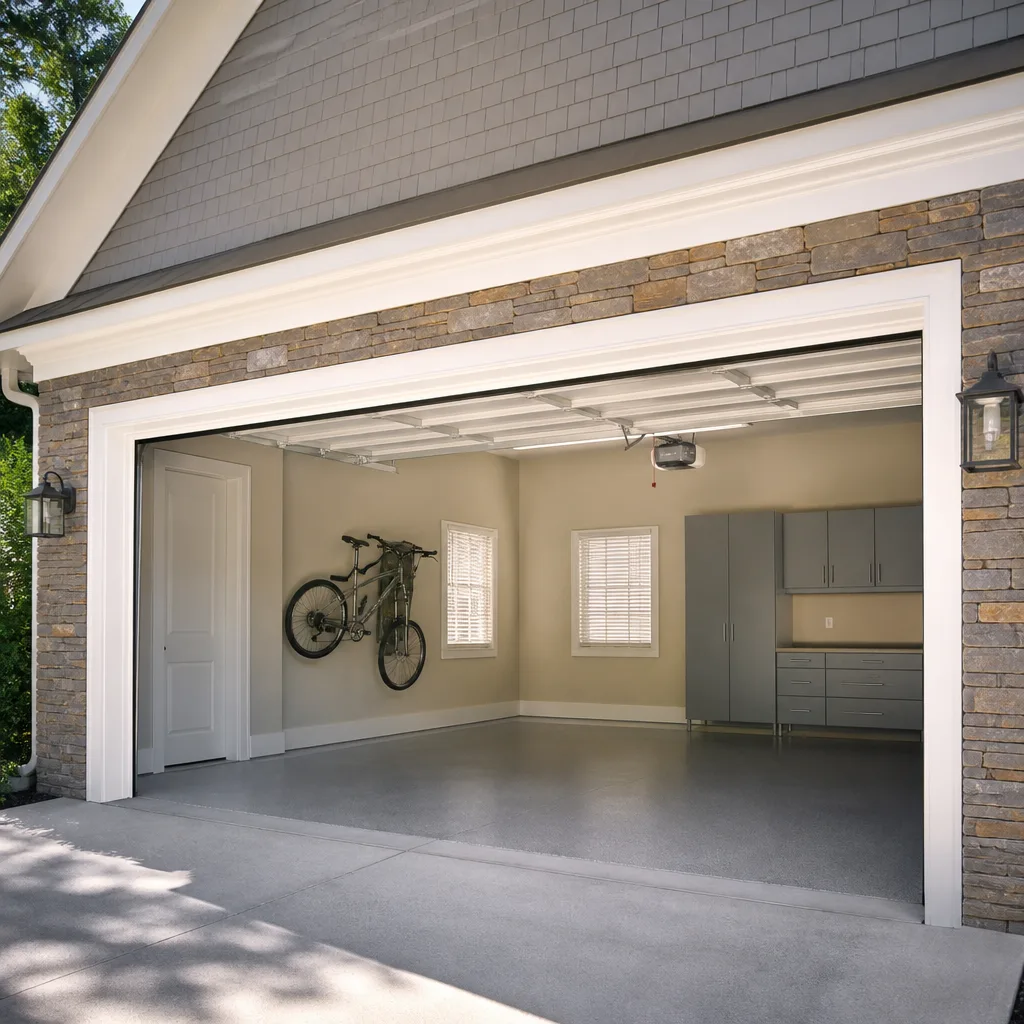 LiftMaster openers
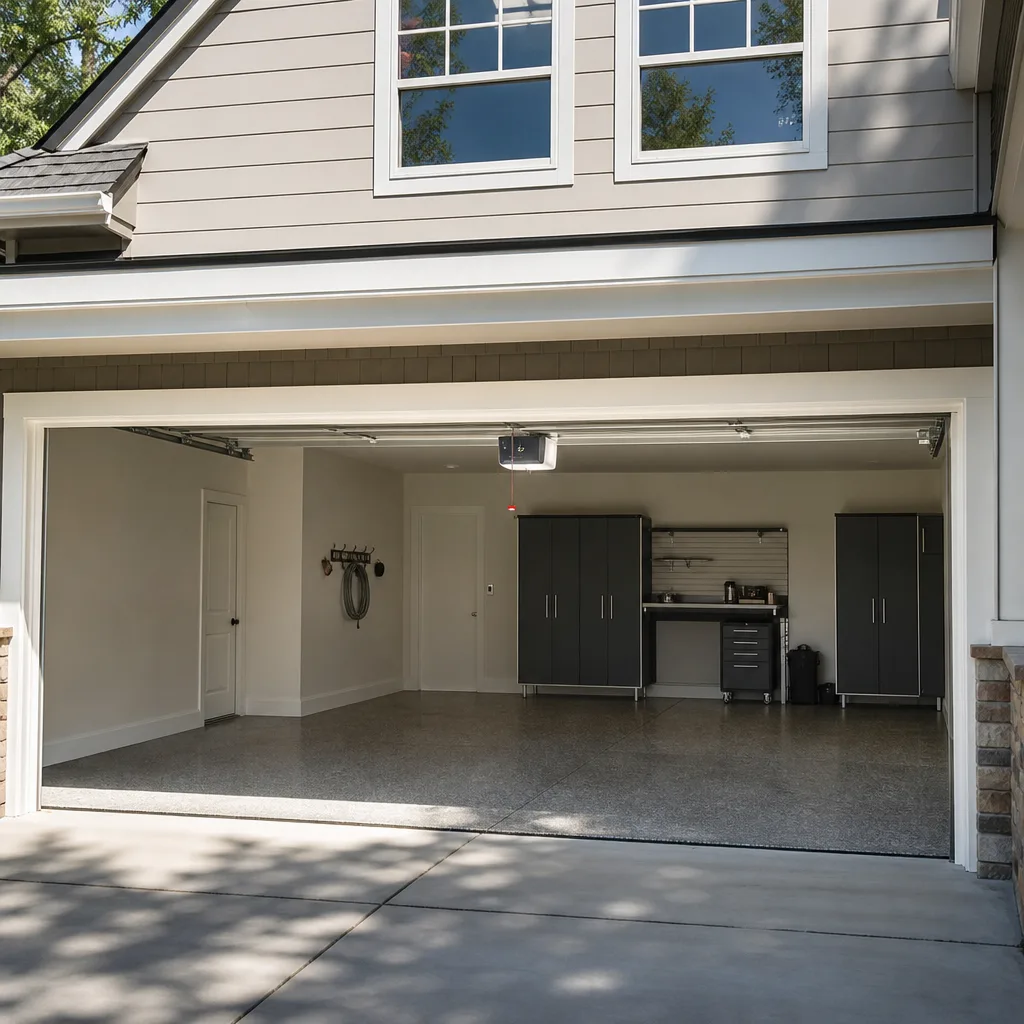 Chamberlain openers
Full 25-point door and opener safety check with every visit - springs, cables, rollers, tracks, and your LiftMaster or Chamberlain opener included
You get a price before we start. It does not change when the truck arrives.
Get your free estimateDIY vs Professional Garage Door: The Ontario Homeowner’s Decision Guide
Here’s a statistic most YouTube tutorials conveniently skip: torsion spring replacement is one of the most searched DIY garage door projects in America, and also one of the leading causes of serious hand, face, and forearm injuries among homeowners. Those two facts belong in the same sentence, because they explain everything about why this guide exists. We’re writing this from Ontario, California, where garage doors take a beating from Inland Empire heat, Santa Ana winds, and daily use as the primary entry point into most homes. By the time you finish reading, you’ll know exactly which garage door tasks you can safely handle with a $15 can of lubricant and a screwdriver, and which ones justify picking up the phone before you touch a single bolt. For more guides & resources on keeping your system running, see our full blog.
Quick Answer
Most garage door maintenance and minor adjustments are genuinely DIY-friendly: lubrication, sensor realignment, limit switch tweaks, and battery replacement on your opener remote. But torsion spring replacement, cable work, and panel replacement under tension are professional jobs, because they involve stored mechanical energy that can release suddenly and cause severe injury. If the task involves a red-painted spring, a cable under load, or lifting a door that weighs more than you do, call a garage door professional in Ontario – the cost of a service call is a fraction of what one mistake can cost you.
Styles & brands we work with
Table of Contents
- The Hard Line: What’s Safe, What’s Not, and Why
- The Physics of a Torsion Spring: Why Tutorials Don’t Make It Safe
- The 5 Garage Door Tasks You Can Handle Yourself
- The 4 Jobs That Require a Trained Technician
- When a $20 DIY Attempt Becomes a $600 Repair
- Ontario-Specific Factors: Heat, Wind, and Building Code
- Insurance, Permits, and What Happens When DIY Goes Wrong in California
- What to Tell a Contractor If You’ve Already Attempted the Fix
The Hard Line: What’s Safe, What’s Not, and Why
The DIY versus professional debate around garage doors isn’t really about how handy you are. A homeowner who rebuilds carburetors on weekends can still get seriously hurt by a torsion spring. The line gets drawn based on one factor: whether the component you’re touching is under stored mechanical tension. If it is, you’re not fighting a bolt – you’re fighting potential energy that wants to release itself all at once.
Let’s break it down into two clear categories.
Safe for Most Homeowners
These tasks involve zero stored tension and minimal risk. They’re about cleaning, adjusting, and maintaining components that aren’t fighting back.
- Lubricating rollers, hinges, and tracks – dirty work, but safe work.
- Cleaning and aligning photo-eye sensors – usually a bent bracket or a smudge of dust.
- Adjusting the opener’s travel limits – small turns on the opener unit itself, not the springs.
- Replacing remote batteries and reprogramming remotes – if you have a Chamberlain or Genie opener, the process is in the manual.
- Tightening loose bolts on brackets and rails – if the door is in the down position and the opener is disengaged.
Professional Only
These tasks involve the spring system, the cables that hold spring tension, or the structural panels of a door that weighs 150 to 300 pounds. One wrong move and the component releases its load into whatever is in front of it – usually your hands, your face, or your tools.
- Torsion spring replacement or adjustment – the big red springs mounted above the door on a metal shaft.
- Extension spring replacement – the side-mounted springs that stretch and contract. They need a safety cable installation when replaced.
- Cable replacement or repair – the steel cables that route spring tension to the bottom brackets. If one snaps while you’re working, the door panel becomes a projectile.
- Panel replacement on a loaded door – a bottom panel on a Clopay or Amarr door isn’t just unscrewing and swapping. The weight distribution shifts, and the springs need recalibration.
- Track replacement or realignment – when the vertical tracks come off the wall, the door can derail completely.
Here’s the thing about Ontario specifically: single-family homes here almost universally use the garage as the main entrance. That means your door isn’t opening twice a day like in colder climates where people use the front door. It’s opening four, six, eight times a day. For guidance on handling unexpected failures, see our Garage Door Emergency Preparedness Guide for Ontario Homes. Kids come home from school through the garage. Groceries come in through the garage. That daily cycling accelerates wear on every component – and it means a spring that fails on a Tuesday at 7 a.m. strands the whole family, not just the car.
If you want a deeper look at how door systems wear down in our climate, you can read more on our Garage Door Repair in Ontario page.
The Physics of a Torsion Spring: Why Tutorials Don’t Make It Safe
Here’s the number that matters: a standard residential torsion spring holds between 100 and 150 pounds of torque per square foot of door weight. On a 16-foot double garage door – the kind you see all over the newer developments in Ontario Ranch and the older neighborhoods around Euclid Avenue – that spring assembly is managing roughly 250 to 300 pounds of upward force. The spring is wound tight against that load, and the winding cone has a quarter-inch square hole for the winding bar.
If the bar slips, the spring unwinds itself in under a second. All that stored energy goes into the bar, which becomes a spinning metal lever traveling fast enough to break bone. YouTube makes it look calm. A camera angle can’t show you what 150 foot-pounds of sudden rotational force feels like in your hands.
The danger isn’t the tutorial quality. It’s not the tools. It’s that the failure mode on torsion spring work is instant and catastrophic. There’s no “I felt it slip and let go” – by the time you feel it, the injury has already happened. Emergency rooms in San Bernardino County see these injuries regularly, and they’re the kind that require surgery: degloved fingers, fractured wrists, lacerations to the face from the bar kickback.
California building code also matters here. The state’s Title 24 energy standards don’t govern springs directly, but California’s worker safety approach and general liability for home repairs do. If you’re renting equipment and working without insurance, and something happens – to you or to the door – you’re absorbing the full cost. We mention this not to scare homeowners into never touching a wrench again, but because the “it’s just a spring” mindset causes real harm every year in Ontario.
The 5 Garage Door Tasks You Can Handle Yourself
Now that we’ve drawn the line on the dangerous stuff, here’s where DIY actually makes sense. These are the tasks that keep your door running smoothly between professional tune-ups, and they’re safe for a competent homeowner with basic tools and twenty minutes.
1. Lubrication: The $15 Task That Prevents Most Service Calls
The majority of “grinding noise” complaints we hear about in Ontario start with dry rollers and hinges. Garage door lubricant – white lithium grease for the hinges, a silicone spray for the rollers and tracks – applied twice a year extends the life of every moving metal part. The Inland Empire climate is dry and dusty, which means grease attracts grit if you over-apply. Wipe off the excess after you spray.
- Close the door completely and unplug the opener.
- Spray silicone on the roller stems, not the track itself. Tracks get sticky when lubricated, and that attracts dust.
- Apply a thin film of white lithium grease to each hinge pivot point.
- Wipe away any drips with a rag.
- Run the door up and down twice to work the lubricant into the joints.
This is the single highest-value maintenance task you can do yourself, and it’s safe because nothing you’re touching is under tension.
2. Photo-Eye Sensor Alignment
The two small sensors mounted about six inches off the floor on either side of the door opening are what stop the door from closing on your car – or your kid. When they get bumped out of alignment, the door refuses to close and the opener light blinks. Most of the time, this is a two-minute fix.
- Check for dust or spider webs on the sensor lenses first. Clean with a dry cloth.
- Loosen the wing nut holding the misaligned sensor.
- Adjust the sensor until the indicator light turns solid green or amber (depending on your brand – Chamberlain and Genie use different colors).
- Tighten the wing nut and test the door.
If the light still blinks after alignment, you might have a wiring issue, which is where a professional diagnostic helps. Our Garage Door Opener Repair in Ontario page covers sensor and logic board issues in more detail.
3. Opener Limit Adjustments
If your door doesn’t close all the way or reverses immediately after touching the ground, the travel limits on the opener may need adjustment. This is a knob or button on the opener unit itself, not on the door. Consult your opener manual for the specific procedure – LiftMaster, Chamberlain, Genie, and Craftsman units each have slightly different control interfaces. The key safety note: adjust in small increments and test after each change.
4. Weatherstripping Replacement
The rubber strip along the bottom of the door keeps dust, water, and rodents out of your garage. In Ontario’s summer heat, that rubber gets brittle and cracks within a few seasons. Replacement strips are available at any hardware store, and the installation is straightforward: pull out the old strip, slide in the new one, trim to length. If the door has a metal retainer channel, you’ll slide the strip in from one end.
5. Remote Battery and Reprogramming
Clickers die. It’s not a sign of a failing opener. Pop the back off your remote, note the battery size, replace it, and test. If you need to reprogram, the “learn” button on the opener unit – usually purple, orange, or yellow depending on brand – initiates pairing mode. Hold it until the light blinks, then press the remote button. Done in 30 seconds.
The 4 Jobs That Require a Trained Technician
These are the jobs where even experienced DIYers should step back. The common thread: stored tension, structural load, or a component where a failure during the repair causes injury or property damage.
1. Torsion and Extension Spring Replacement
We already covered the physics. Springs have a rated cycle life – typically 10,000 to 20,000 cycles – and when they fail, they fail by snapping, often while the door is mid-cycle. That’s why you hear what sounds like a gunshot from the garage. Replacing a broken spring requires: matching the correct spring wire gauge and length to your specific door weight (a Clopay door and an Amarr door of the same size may use different springs), unwinding the old spring, winding the new one to the correct number of quarter-turns, and testing the balance. Getting any one of these variables wrong means the door is either dangerously over-wound or too weak to lift.
2. Cable Repair and Replacement
The lift cables run from the bottom brackets on each side of the door up to the drum at the top. They’re under constant tension because they’re the mechanism that transfers spring force to the door panels. A frayed cable is a warning sign that it’s about to snap – and when it snaps, the door drops suddenly on that side, torquing the entire assembly. DIY cable replacement means working directly adjacent to the spring system while it’s still under load. One wrong move with the drum, and the cable whips free. This is a professional job, no exceptions.
3. Panel Replacement on a Loaded Door
A dented panel on a Wayne Dalton or Clopay door seems like a simple swap: remove the hinge bolts, slide out the panel, slide in the new one. The problem is that the door is weighted and balanced as a complete unit. When you remove a panel, the remaining panels can shift – and on a door that’s partially open, that shift can send the whole assembly off its tracks. Professional panel replacement involves supporting the door evenly, managing the tension balance, and often replacing adjacent hinges and rollers at the same time.
4. Full Door or Track Replacement
If you’re upgrading to a new door – maybe an insulated Amarr door to help with Ontario’s summer heat – this isn’t a weekend project. It’s a measured, ordered, and scheduled job. The old door comes off in sections, the tracks get realigned or replaced, the springs get matched to the new door’s exact weight, and the opener gets recalibrated. If you’re considering this kind of upgrade, see Garage Door Installation in Ontario for what the process looks like from quote to final test.
When a $20 DIY Attempt Becomes a $600 Repair
Here’s the cost-benefit math that nobody puts in the YouTube comments. Let’s say your door is making a grinding noise and you diagnose it as a worn roller. You buy a replacement roller for $8 at a hardware store, spend a couple hours installing it, and the noise goes away. Great – you saved a service call. But before you start, it’s worth understanding the full Garage Door Cost Breakdown: The Ontario Homeowner’s Reference for 2026.
But now let’s say the noise was actually a cracked torsion spring. You don’t know that yet. You spend $20 on a new roller, install it, and the spring snaps while you’re working nearby. The door drops, a cable whips loose, and the panel hits the ground hard enough to crack. Now you’re not looking at the original $280 spring replacement. You’re looking at:
- Spring replacement: $180 to $340
- Cable replacement: $95 to $180
- Panel replacement: $250 to $450 depending on the door brand and panel type
- Possible track realignment: $100 to $200
Total: $625 to $1,170, compared to the $280 you would have paid if you’d had the original problem diagnosed by someone who works on these systems every day. That’s the math we keep coming back to. The DIY risk isn’t just physical – it’s financial, and the numbers don’t favor guessing.
A cheaper DIY attempt that goes sideways can also damage the opener if the door’s balance is thrown off. When the opener has to work harder to compensate for an unbalanced door, the gears inside the motor unit strip, and that’s an opener motor replacement on top of everything else. In Ontario, where most homes have the garage as the main entry, this kind of cascading damage means days without security or convenience.
We’ve seen this exact sequence play out enough times in Ontario to say it plainly: if you’re not sure what’s causing the noise, a free diagnostic or a low-cost inspection beats a guess. And if you’ve already started the job and something feels wrong, stop. A half-finished repair costs less to correct than a fully broken door.
Ontario-Specific Factors: Heat, Wind, and Building Code
Ontario, California isn’t just a location on a map – it’s an environment that puts specific stresses on garage door systems, and those stresses matter when you’re deciding between DIY and professional work.
The Heat Factor
Inland Empire summers routinely push past 100 degrees. That heat does two things to a garage door system. First, metal components expand – tracks, springs, cables, and bolts all grow slightly with heat, which changes the door’s balance during the hottest part of the day. A spring that’s perfectly calibrated at 75 degrees behaves differently at 105. Second, rubber and plastic components degrade faster. Weatherstripping cracks, opener belts stretch, and the grease in rollers thins out and drips. DIY maintenance in Ontario needs to happen more frequently than in coastal climates.
The Santa Ana Wind Factor
Dry, gusty Santa Ana winds blow through the Inland Empire in fall and winter. Wind pressure against a closed garage door puts lateral force on the tracks and hinges that coastal homeowners never experience. Over time, that flex loosens brackets and creates slop in the track system. A door that works fine on a calm day can bind or jump its tracks during a high-wind Santa Ana event – and that’s usually when homeowners call us, because the door is stuck half-open and the car can’t come out. Wind damage to tracks and panels is a professional repair, not a DIY job. The load forces during a wind event are extreme enough that attempting a track adjustment while the door is stuck can cause the entire assembly to shift.
Building Code and Inspections
California’s building code doesn’t require a permit for most garage door repairs – replacing a spring or a sensor is considered maintenance. However, if the repair involves structural work, like replacing the door frame or altering the header above the opening, a permit may be required. See our guide to Garage Door Permits, Codes & Inspections in CA: What You Need to Know for details on what the City of Ontario’s building department requires. Full door replacements, especially on attached garages, may also need to meet current fire safety standards for the door’s fire resistance rating. When you work with a licensed professional, they handle the compliance questions. When you DIY, you’re responsible for knowing what the city requires.
Insurance, Permits, and What Happens When DIY Goes Wrong in California
Homeowner’s insurance is one of those things nobody reads until they need it. Here’s what the fine print often says: if an unlicensed repair attempt damages your home, your insurance claim can be denied. Specifically, California insurers generally cover sudden and accidental damage – a spring that snaps on its own is covered. But when the homeowner’s own repair attempt causes the damage, the claim becomes much harder to file successfully. The insurer can argue that the damage resulted from unlicensed work, and that puts the full repair cost back on you.
There’s also a specific provision in many California policies about work done by unlicensed contractors. If you hire an unlicensed handyman to replace your springs and they damage the door, your policy may deny the claim based on the fact that the work was performed without the proper license. This is part of why professional garage door work in Ontario matters – beyond the safety risk, there’s a real financial risk that insurance won’t be there to catch you.
For rented or leased properties – and there are plenty of rental homes in Ontario – DIY structural or mechanical work on a garage door may violate your lease agreement. Landlords typically require that repairs to safety-sensitive systems like garage doors be performed by licensed or bonded contractors. Doing the work yourself could put your security deposit at risk or trigger a lease violation.
The bottom line for California homeowners: the permit itself isn’t usually the issue for standard repairs. The insurance and liability implications are. When a licensed garage door contractor performs the work, that liability transfers to their insurance and their license. When you do it yourself, it stays with you.
What to Tell a Contractor If You’ve Already Attempted the Fix
You tried. It didn’t work. Maybe you got halfway through a spring replacement and realized the torsion was beyond you. Maybe you removed a panel and couldn’t get it back in. Maybe you bent a track trying to force a stuck door open. Whatever happened, here’s what matters: tell us before we arrive.
Here’s what we need to know, in order of importance:
- Exactly what you attempted – be specific. “I tried to adjust the spring” tells us one thing; “I loosened the set screws on the torsion cone and the bar slipped” tells us something very different.
- Whether the door came off its tracks at any point – this changes the entire scope of the repair and the safety precautions we take on arrival.
- Which tools are still in the mechanism – if you left a winding bar in the spring cone or a clamp on the track, we need to know before we touch anything. A forgotten tool under tension is a hidden hazard.
- Whether you heard any loud noises – a bang, a snap, a grinding sound. These help us identify whether the damage is pre-existing or caused during the attempt.
- What parts you already bought – if you picked up replacement springs from a hardware store, tell us the size and brand. We might be able to use them, or we might need to explain why they’re not the right match for your door.
We don’t judge. Half the garage door repairs we handle in Ontario involve some level of previous DIY attempt – it’s common, and the homeowner’s effort usually tells us they care about their home. But the information makes the difference between a safe, efficient service call and a diagnostic process that takes twice as long while we’re figuring out what was touched.
Before any work starts, we’ll give you the exact price, and we’ll agree on it together. Nothing gets done without your approval on the number. If you want an overview of how our repair process works, you can start at Daybreak Garage Door Repair home.
Common Mistakes to Avoid
- Using WD-40 on garage door springs. WD-40 is a solvent, not a lubricant. It strips away the grease that’s keeping your springs from grinding against themselves. Use garage door-specific silicone spray or white lithium grease instead.
- Adjusting the springs instead of the opener limits. If the door doesn’t close all the way, the problem is usually the opener’s travel limit setting, not the spring tension. Adjusting a spring when you don’t need to is how doors get over-wound and dangerous.
- Removing the spring without securing the door. This is the most common catastrophic error in DIY garage door work. If the door isn’t fully supported on both sides before you touch the spring assembly, the entire weight of the door comes down when the spring releases.
- Replacing one spring when there are two. Standard double-wide doors in Ontario homes have two torsion springs. If one breaks, both are near the end of their cycle life. Replacing only the broken one means a second service call within months – and an unbalanced door in the meantime.
- Ignoring a frayed cable. A frayed cable is the garage door equivalent of a ticking timer. It won’t fix itself, and when it goes, the door drops on that side and the damage spreads to panels and tracks.
- Painting or lubricating the tracks. The tracks are designed to guide the rollers, not to be slick. Adding lubricant or paint to the track surface causes the rollers to slip instead of roll, which creates flat spots and noisy operation.
- Forcing a door that’s stuck in the open position. If the door is stuck open and won’t move, the temptation is to push harder. That’s how panels get bent and cables derailed. A stuck door means something is holding it – and force turns a $150 repair into a $700 one.
See the difference
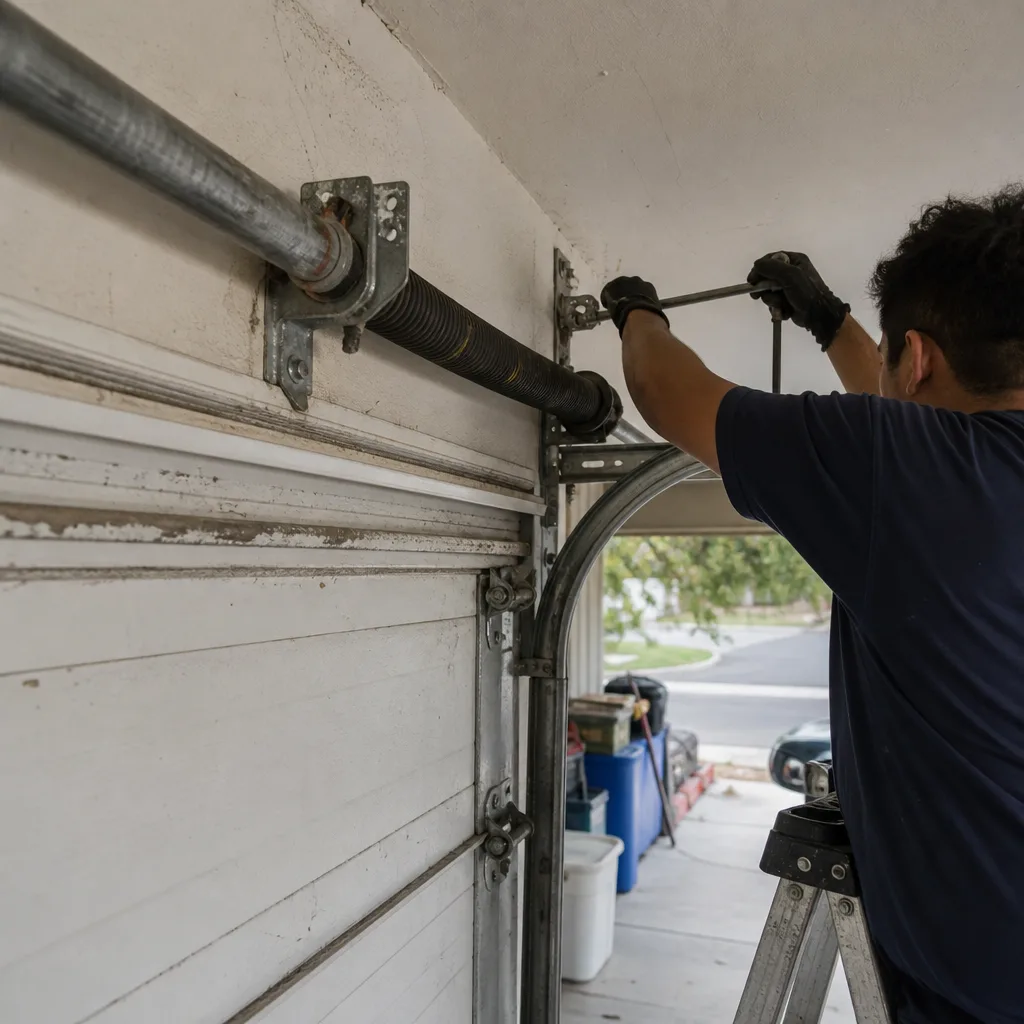 Before
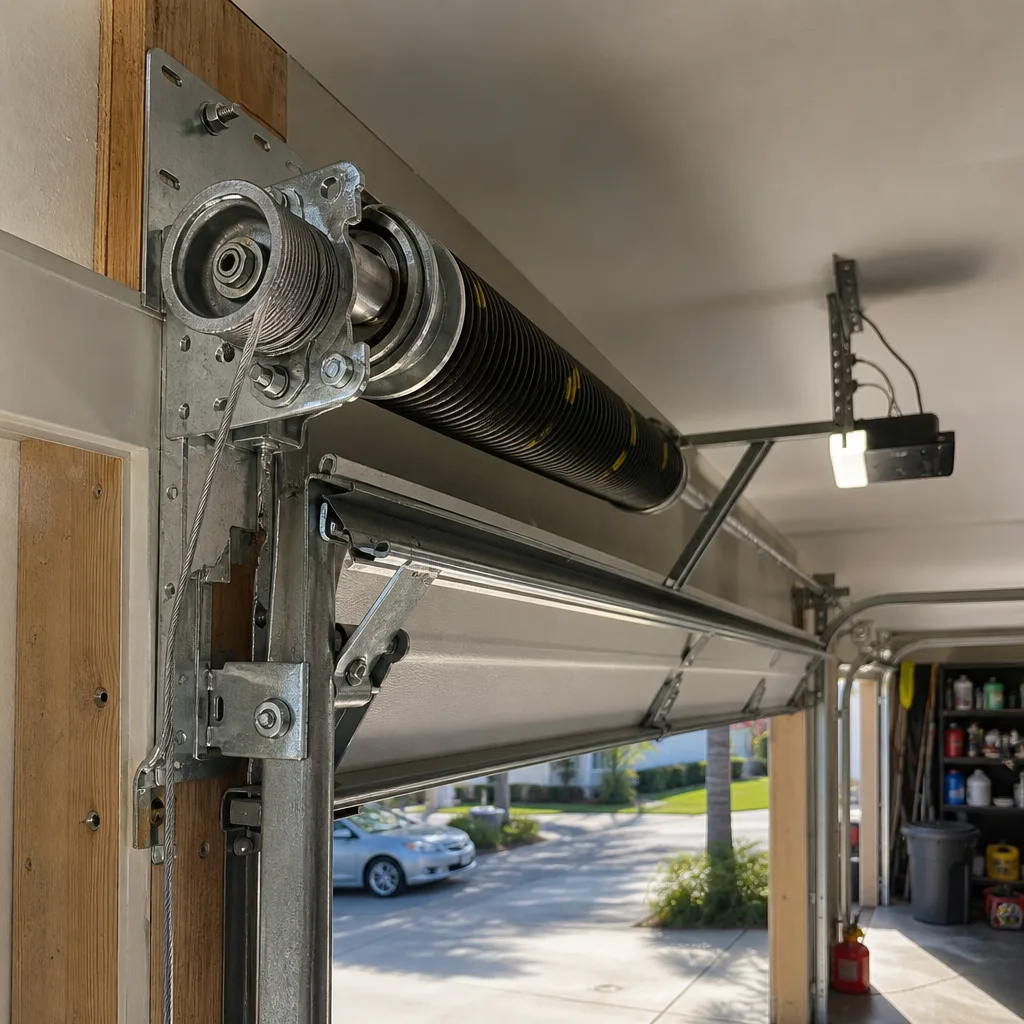 After
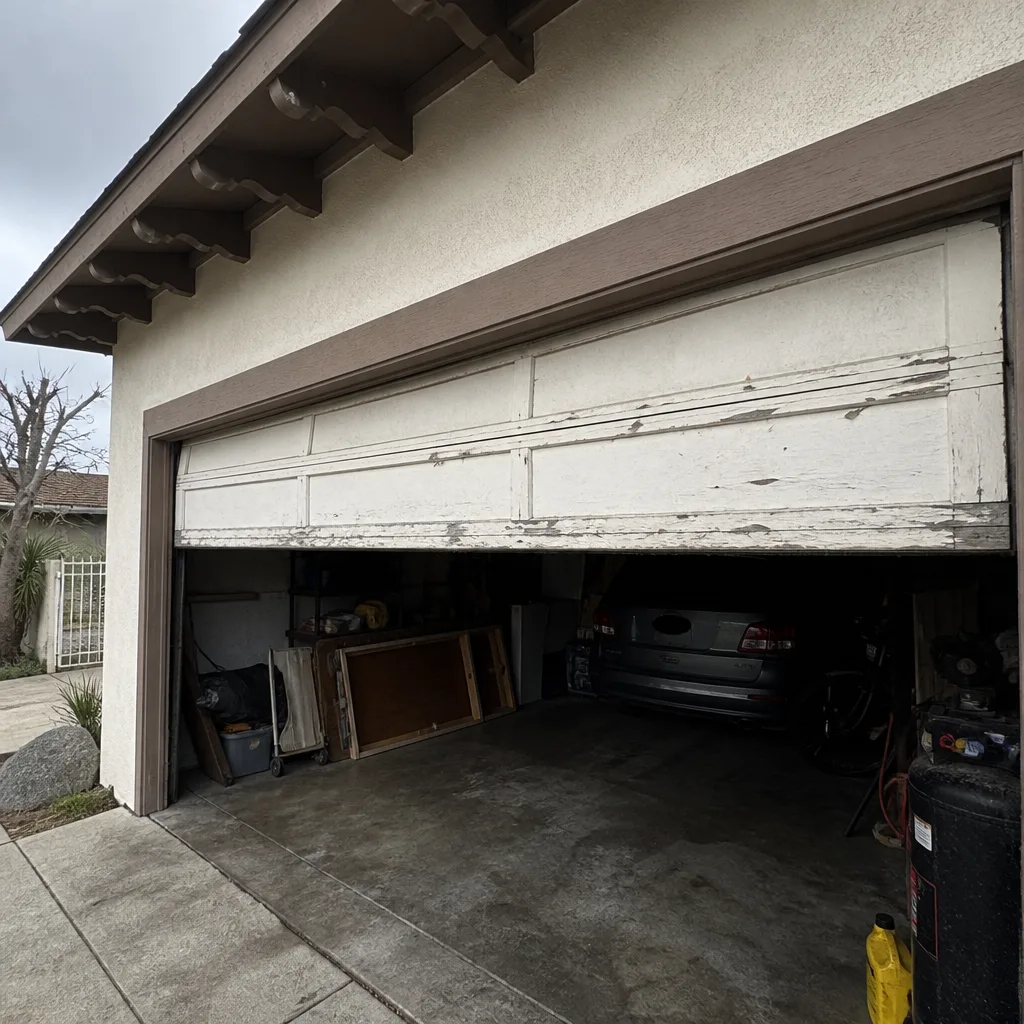 Before
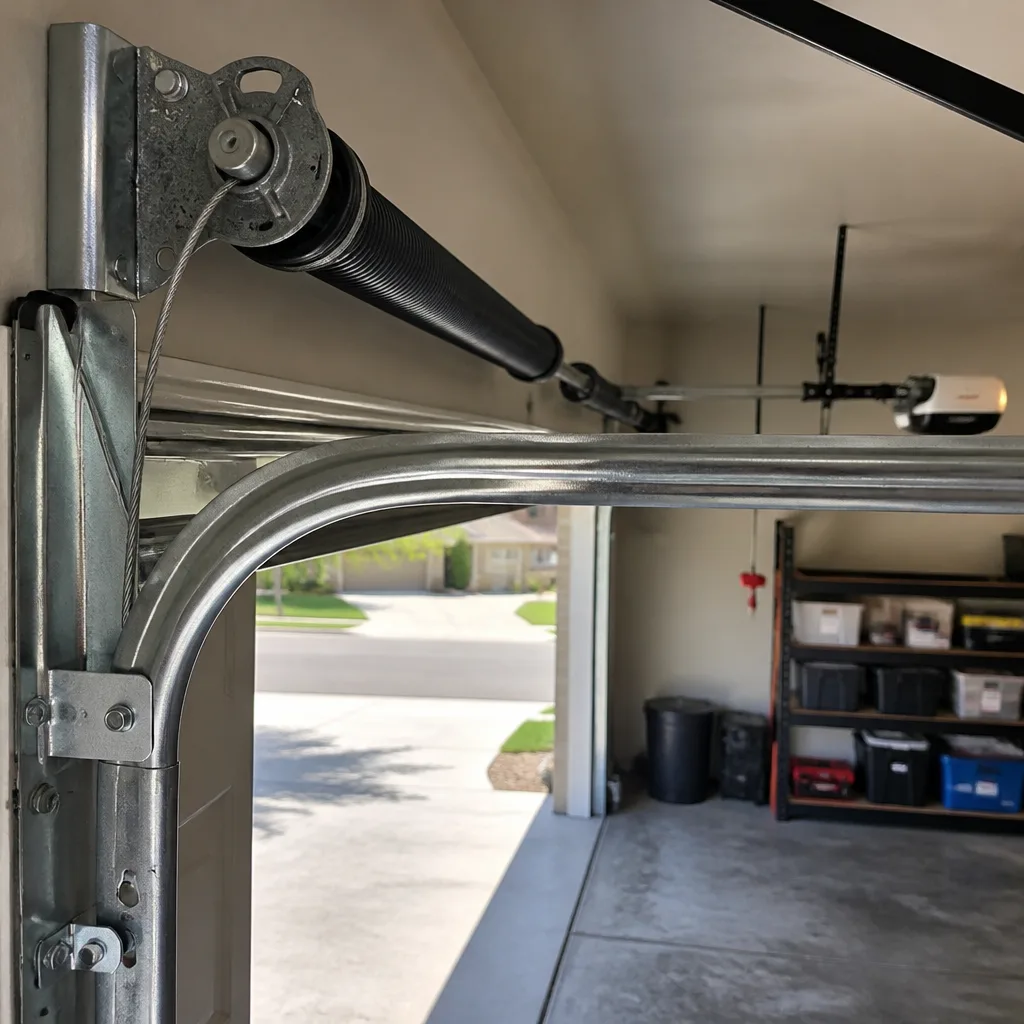 After
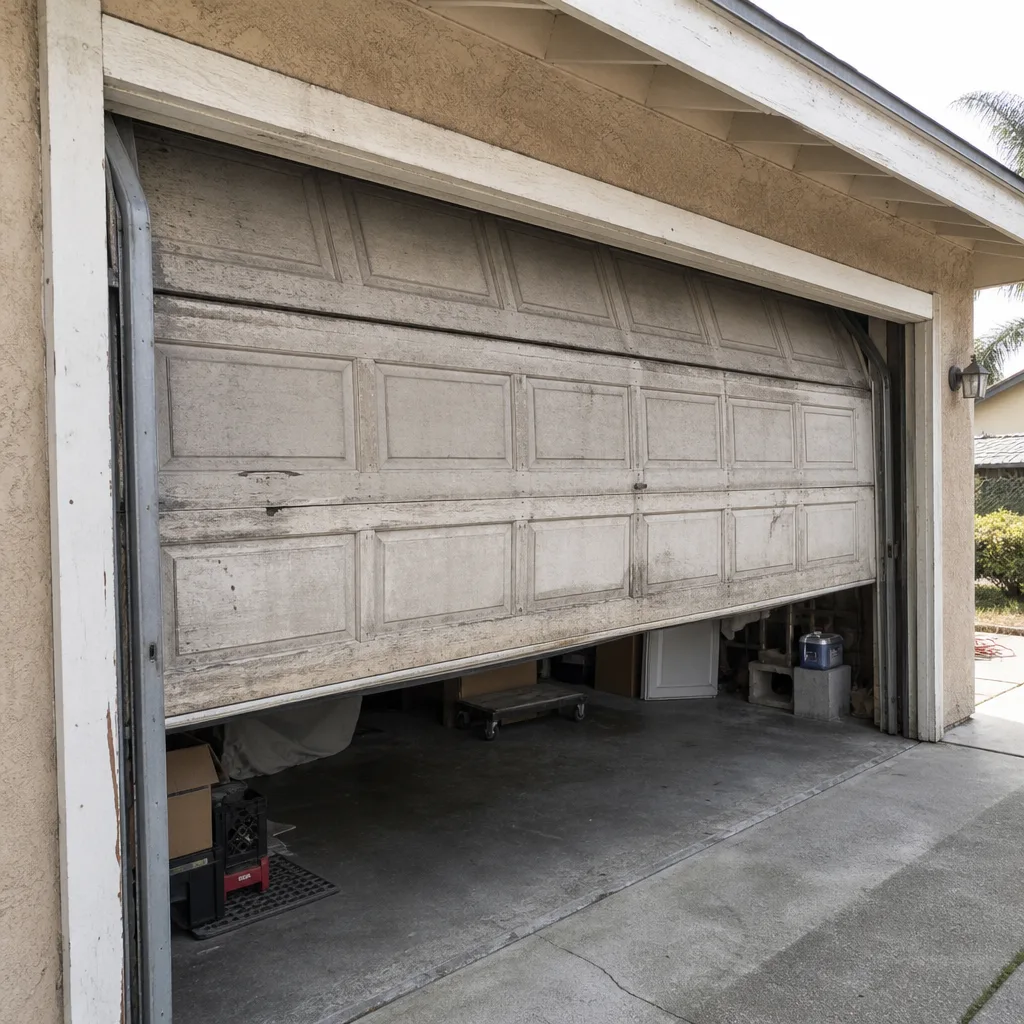 Before
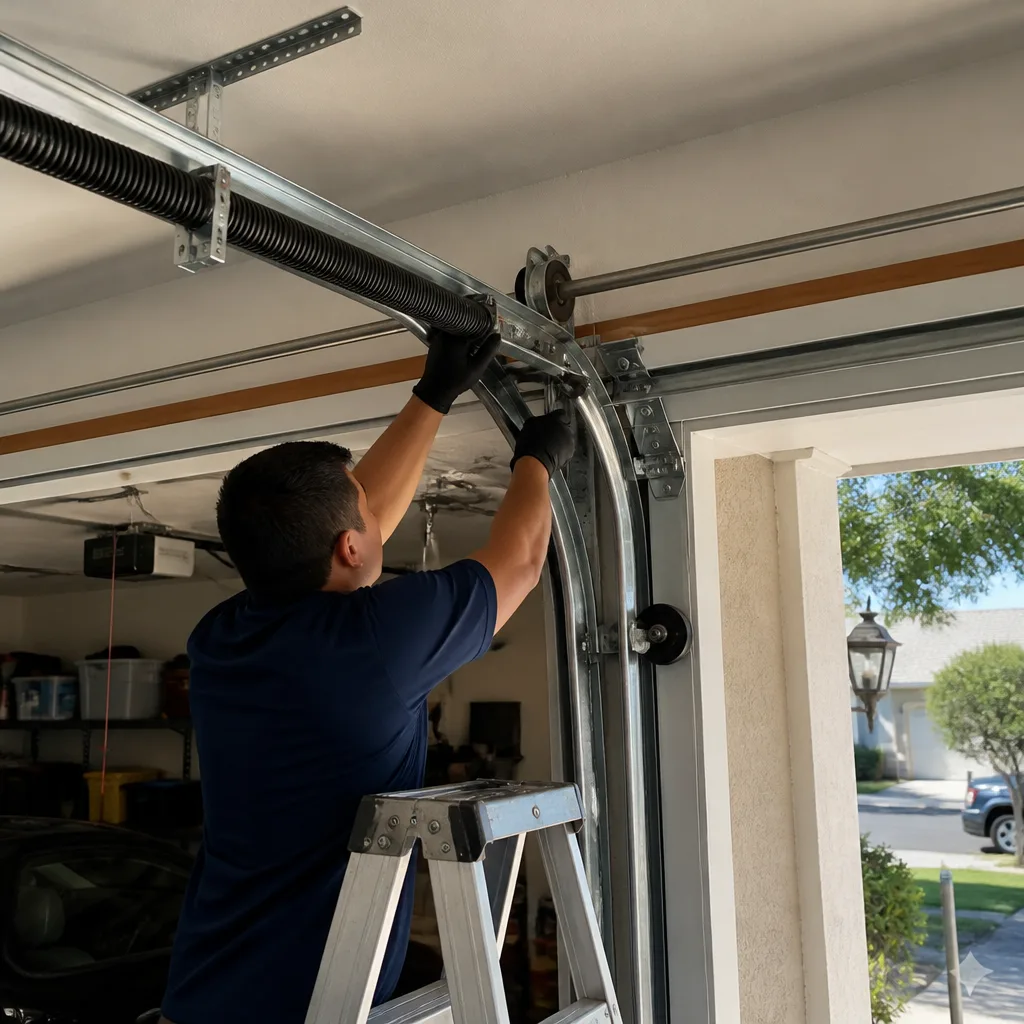 After
When to Call a Professional
Call a professional when you see a broken or suspect torsion spring, when a cable is frayed or snapped, when the door has come off its tracks, when a panel is cracked or dented on a door that’s more than five years old, or when the door makes a sound you’ve never heard before and you can’t immediately identify it. Noise is information – a sharp snap is a spring, a grinding sound is usually a roller or opener gear, and a rattling sound near the bottom is often a loose bracket. If you don’t know which one you’re hearing, don’t guess. Daybreak Garage Door Repair offers free estimates in Ontario – call (877) 588-6760 and we’ll help you figure out what’s going on before you touch anything.
Frequently Asked Questions
Spring replacement in Ontario typically costs between $180 and $340 for a standard single-spring setup, with double-spring systems running $250 to $450. The exact price depends on the spring’s wire gauge, length, and whether it’s a torsion or extension spring. Call (877) 588-6760 for an exact quote – estimates are free and the price is agreed before any work starts.
You can, but you shouldn’t. Torsion springs hold 100 to 150 pounds of torque per square foot of door, and a sudden release during a DIY attempt causes serious hand and face injuries. This is the single most dangerous task on a garage door system, and it’s why we strongly recommend professional spring work in Ontario and everywhere else.
Lubricating rollers and hinges, cleaning and aligning photo-eye sensors, adjusting opener travel limits, replacing weatherstripping, and swapping remote batteries are all safe DIY tasks. None of them involve touching components under stored tension.
It can. If your repair attempt causes damage to the door or your home, your insurer may deny the claim because the damage resulted from unlicensed work. Professional repairs shift that liability to the contractor’s insurance, which is a major reason to hire a licensed garage door company in Ontario.
Look for a visible gap in the spring coil, a door that feels heavier than usual when you lift it manually, a door that opens unevenly or jerks, or a loud bang sound from the garage followed by the door refusing to open. These are all signs that a spring is near the end of its cycle life.
For most standard repairs and replacements, no permit is required. However, structural work on the door frame or header, or full door replacements that affect fire safety ratings on attached garages, may require review by the City of Ontario’s building department. A professional garage door contractor will handle compliance questions for you.
The Bottom Line
The DIY versus professional decision comes down to one question: is the component you’re touching under stored tension? If it isn’t – lubricating, aligning sensors, adjusting limits, replacing weatherstripping – go ahead and do it yourself. If it is – springs, cables, loaded panels – call someone who does this work every day. The risks of getting it wrong in Ontario aren’t just financial, though the cost math alone usually favors the professional. They’re physical, and they’re avoidable. Your garage door is the most-used entry point into your home. Treat it accordingly.
Written by the team at Daybreak Garage Door Repair, serving Ontario since 2011.
Need help with your garage door in Ontario? Call Daybreak Garage Door Repair at (877) 588-6760 for a free estimate. We work on door brands including Clopay, Amarr, Wayne Dalton, and Raynor, and opener systems from LiftMaster, Chamberlain, Genie, and Craftsman. Same team, one call, from opener to panel.